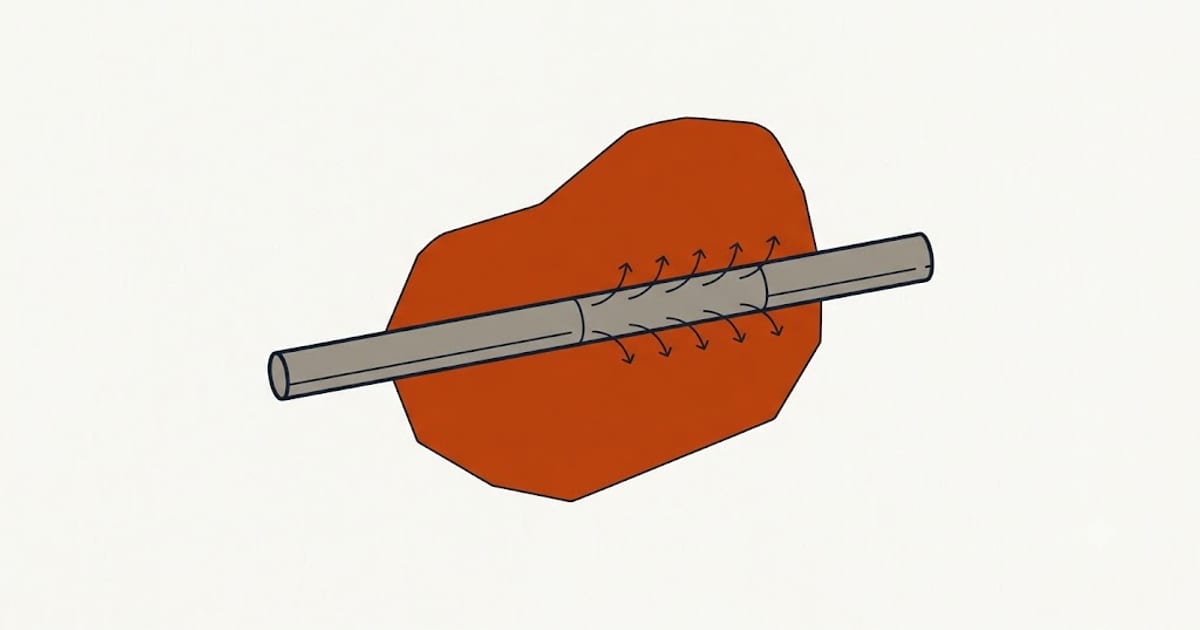
In much of the United States, and especially the South and Southwest, the air distribution system runs through an unconditioned attic that reaches 130 to 150°F on a summer afternoon.
Two separate losses
Conduction. Air leaving the coil at around 55°F travels through a duct surrounded by 140°F air. Even well-insulated flexible duct at R-8 gains heat along the run, and a long run to a far bedroom can arrive several degrees warmer than it left.
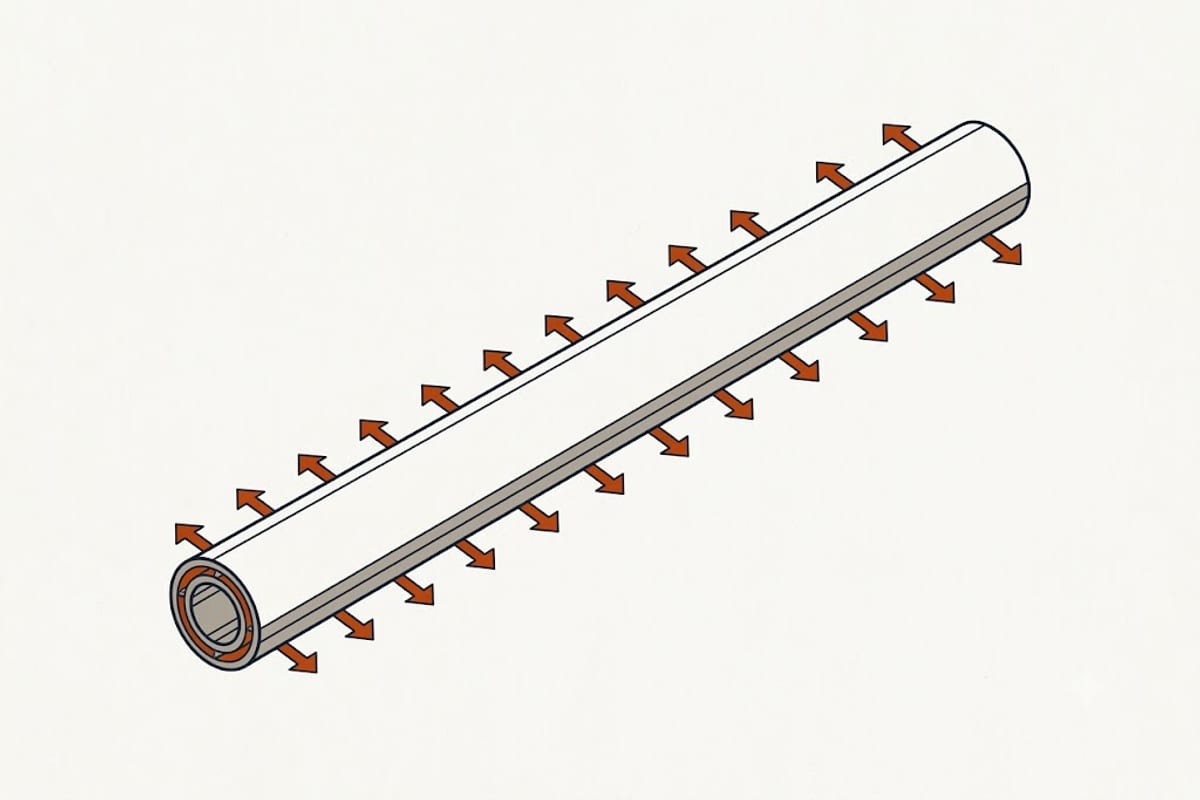
Leakage. Joints, boots, and the connection at the plenum. Supply leakage dumps conditioned air into the attic. Return leakage is worse — it pulls 140°F attic air, complete with its humidity and its dust, directly into the system.
The scale of it
Duct leakage in existing houses is commonly measured at 20 to 30% of system airflow, and older houses can be worse.
Combined with conduction, the total penalty for attic ducts is frequently in the range of 20–30% of the cooling load. That is comparable to the entire window load of many houses and it is larger than the difference between any two equipment efficiency tiers.
It is also the reason a house can have adequate equipment and still not be comfortable.
Why return leakage is the worst case
A leaking return does three things at once.
It draws hot, humid attic air into the system, adding both sensible and latent load. It pressurises the house slightly, which drives conditioned air out through the envelope. And it brings attic dust and insulation fibres into the airstream.
A single unsealed return boot can be responsible for a large share of a house's total duct loss.
What Manual J does with it
A proper load calculation includes a duct loss term based on duct location, insulation level and assumed or measured leakage.
This is one of the terms most often left at a default value, and the default is usually optimistic. A calculation that assumes tight, insulated ducts for a house with 1990s flex in an uninsulated attic will undersize — or, more commonly, will be quietly compensated for by the contractor rounding the equipment up, which reintroduces the oversizing problem.
Fixing it, in order of value
Seal the connections with mastic, not tape. Duct tape fails on ductwork; that is its most famous property. Mastic or foil tape with a UL 181 rating stays sealed.
Seal the boots where ducts meet ceilings, which is where a large fraction of leakage is found.
Insulate to at least R-8, and check that existing flex is not compressed, kinked or lying in contact with hot roof sheathing.
Bury the ducts in attic insulation where the assembly allows it, which is very effective and needs care about condensation on the duct exterior.
Move the ducts into conditioned space, which eliminates the problem entirely and is normally only feasible during major work.
Seal and insulate the attic itself at the roofline, bringing the attic inside the thermal envelope. Expensive, and it turns a 140°F attic into an 85°F one, which removes both the duct loss and much of the ceiling load.
The measurement
A duct blaster test pressurises the duct system and measures leakage in CFM at 25 Pa. Many energy audits include it, and some jurisdictions require it on new work.
The number is worth having before sizing equipment, because a house whose ducts are then sealed has a materially lower load than the same house before.
Order of operations
Seal the ducts, air-seal and insulate the attic, then calculate the load, then size the equipment.
Doing it the other way round produces a system sized for a house that no longer exists — and since every one of those improvements reduces the load, the result is oversized in exactly the way that causes humidity problems.